



TV Setup Settings You Should Never Ignore Before Watching Your First Show
Buying a new television is exciting. Whether you’ve upgraded to a larger screen, switched to a Smart TV, or invested in a premium 4K display, the first few minutes after installation matter more than many people realize. Most televisions come with default settings that are designed to look bright in a showroom rather than deliver the best viewing experience at home.
Before you settle in to watch your favorite movie or TV series, taking a few minutes to review important settings can dramatically improve picture quality, sound, streaming performance, and overall usability. A proper TV setup isn’t just about connecting cables—it also involves optimizing your television for your room, internet connection, and personal preferences.
In this guide, you’ll learn the essential TV settings that every user should check before pressing play for the first time.
Why Your TV’s Default Settings Aren’t Always the Best

Manufacturers configure televisions to attract attention under bright retail lighting. This usually means:
Extremely high brightness
Overly saturated colors
Artificial sharpness
Motion enhancement enabled by default
While these settings may look impressive in a store, they often reduce picture accuracy and can make movies appear unnatural in a home environment.
Spending just 10 to 15 minutes adjusting these options can noticeably improve your viewing experience.
Choose the Right Picture Mode
The picture mode is one of the first settings you should review.
Most TVs offer several viewing modes, including:
Standard
Movie or Cinema
Filmmaker Mode
Vivid
Dynamic
Sports
Game
Best Choice for Everyday Viewing
For movies and streaming services, Movie, Cinema, or Filmmaker Mode usually provides the most natural colors and balanced brightness.
If you’re watching sports during the day, Standard mode may be a better option because it offers extra brightness without excessive color saturation.
Avoid using Vivid mode unless your room is extremely bright.
Adjust Brightness and Contrast
Many people confuse brightness with picture quality.
Brightness controls how dark or light black areas appear, while contrast determines how bright white areas become.
A balanced adjustment helps you see:
Dark scenes clearly
Natural skin tones
Better detail in shadows
Improved overall realism
Instead of simply increasing both settings to maximum, adjust them according to your room lighting.
Turn Off Motion Smoothing
One setting that surprises many new TV owners is motion smoothing.
Different brands use different names, such as:
Motion Flow
Tru Motion
Auto Motion Plus
Motion Enhancement
Smooth Motion
Although this feature moves appear smoother, it often creates the well-known “soap opera effect,” making movies look unrealistic.
For films and TV dramas, turning this feature off usually provides a much more cinematic experience.
Configure HDR Properly
If your television supports HDR (High Dynamic Range), make sure it is enabled correctly.
HDR improves:
Color accuracy
Brightness
Contrast
Detail in highlights and shadows
Most modern streaming services automatically detect HDR-compatible TVs.
To get the best results:
Use certified HDMI cables
Enable HDR in HDMI settings if required
Stream HDR-supported content
Optimize Sound Settings
Picture quality is only half of the viewing experience.
Many televisions use basic audio settings that may sound flat.
Check your sound menu and experiment with options like:
Standard
Cinema
Music
Speech
Sports
If dialogue sounds difficult to hear, enabling Dialogue Enhancement can make conversations much clearer.
For larger rooms, consider pairing your TV with a soundbar for richer sound.
Connect to a Stable Wi-Fi Network
A strong internet connection is essential for streaming without interruptions.
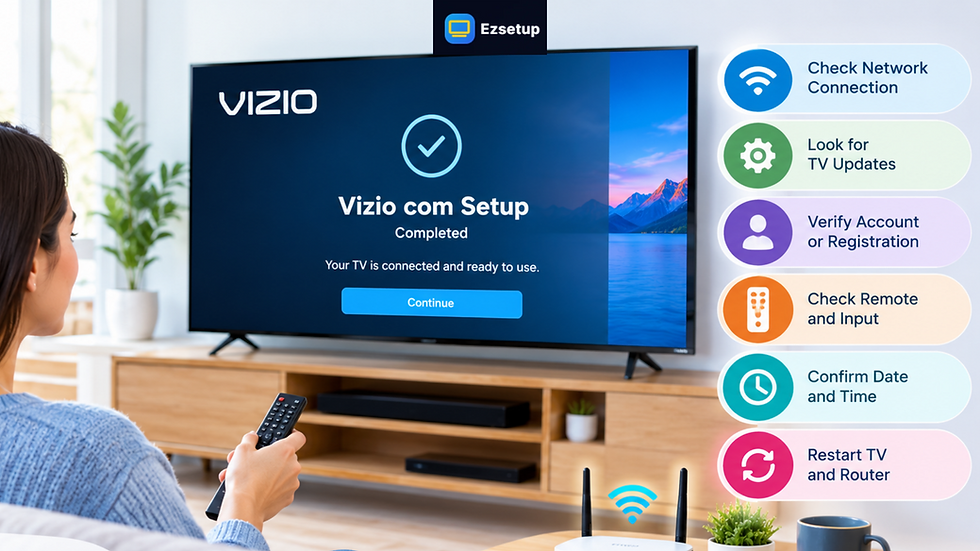
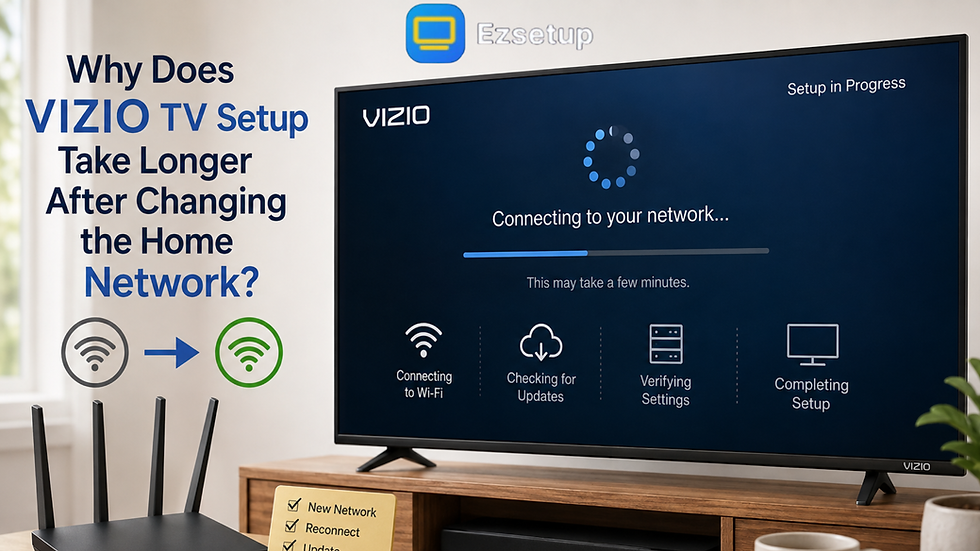
During your TV setup, always connect to the fastest available Wi-Fi network.
For the best performance:
Use a 5 GHz Wi-Fi connection when available.
Place the router close to the TV.
Avoid physical obstacles between the TV and router.
Restart the router occasionally.
A stable connection reduces buffering and improves video quality.
Update the TV Software
Many users skip software updates immediately after purchasing a television.
However, firmware updates often include:
Security improvements
Bug fixes
Better streaming compatibility
Improved app performance
New features
Checking for updates before your first viewing session ensures your television is running its latest software.
Organize Your Streaming Apps
After connecting your TV to the internet, install the streaming apps you use most often.
Examples include:
Netflix
YouTube
Prime Video
Disney+
Apple TV
Hulu (where available)
Organizing frequently used apps on the home screen saves time and makes navigation easier.
Enable Energy Saving Features Carefully
Most televisions include energy-saving settings that reduce power consumption.
While these features are useful, aggressive power-saving modes may:
Reduce screen brightness
Affect HDR quality
Change picture settings automatically
If picture quality is your priority, choose a balanced energy mode instead of the maximum power-saving option.
Configure Privacy Settings
Smart TVs collect various types of usage information to improve recommendations and software features.
Review the privacy menu and decide which permissions you’re comfortable enabling.
Common options include:
Voice assistant permissions
Viewing data collection
Personalized advertising
Automatic content recommendations
Adjusting these settings helps protect your privacy while keeping useful features available.
Check HDMI Input Settings
If you’re connecting external devices such as:
Gaming consoles
Streaming sticks
Blu-ray players
Sound systems
Verify that the correct HDMI input settings are enabled.
Some TVs require users to activate enhanced HDMI mode to support:
4K resolution
HDR
120 Hz refresh rate
Dolby Vision
Without this setting, your devices may not deliver their full capabilities.
Adjust Screen Size and Aspect Ratio
Sometimes television images appear slightly zoomed or cropped.
Check your aspect ratio settings and select:
16:9
Just Scan
Screen Fit
Original Size
This ensures you see the complete picture without missing important details around the edges.
Activate Game Mode for Consoles
If you play games on PlayStation, Xbox, or another console, don’t forget to enable Game Mode.
Game Mode helps reduce:
Input lag
Controller delay
Screen response time
The result is smoother gameplay and quicker reactions.
You can usually enable this mode from the picture settings menu.
Fine-Tune Accessibility Features
Modern televisions offer accessibility options that improve usability for many viewers.
These include:
Closed captions
Audio descriptions
High-contrast menus
Screen magnification
Voice guidance
Even if you don’t need them today, knowing where these settings are can be helpful later.
Final Thoughts
Your television is capable of delivering an excellent entertainment experience, but only if it’s configured correctly. The default settings are rarely ideal for everyday viewing, and spending a little time making simple adjustments can dramatically improve picture quality, audio performance, streaming reliability, and overall comfort.
Before watching your first show, review your picture mode, sound settings, Wi-Fi connection, software updates, and privacy preferences. These small improvements create a better viewing experience that you’ll appreciate every time you turn on your TV.
Whether you’re setting up a Smart TV for the first time or upgrading to a new model, taking a thoughtful approach to your TV setup helps you enjoy everything your television has to offer. For additional setup tips and practical troubleshooting advice, EzSetup offers helpful resources designed to make the process easier for every user.
Frequently Asked Questions
1. What is the most important setting to change on a new TV?
The picture mode is usually the first setting you should adjust. Switching from Vivid mode to Movie or Cinema mode often provides more accurate colors and a more comfortable viewing experience.
2. Should I update my TV before using it?
Yes. Installing the latest software update helps improve performance, security, compatibility with streaming apps, and overall stability.
3. Is motion smoothing good for movies?
Most viewers prefer turning motion smoothing off when watching movies because it creates a more natural cinematic look instead of the artificial “soap opera effect.”
4. How can I improve streaming quality on my Smart TV?
Use a fast Wi-Fi connection, keep your TV software updated, place the router nearby, and stream content in supported resolutions like HD or 4K whenever available.
5. How long does a complete TV setup usually take?
For most users, a complete TV setup, including internet connection, software updates, picture adjustments, app installation, and device pairing, takes between 20 and 40 minutes.

Comments